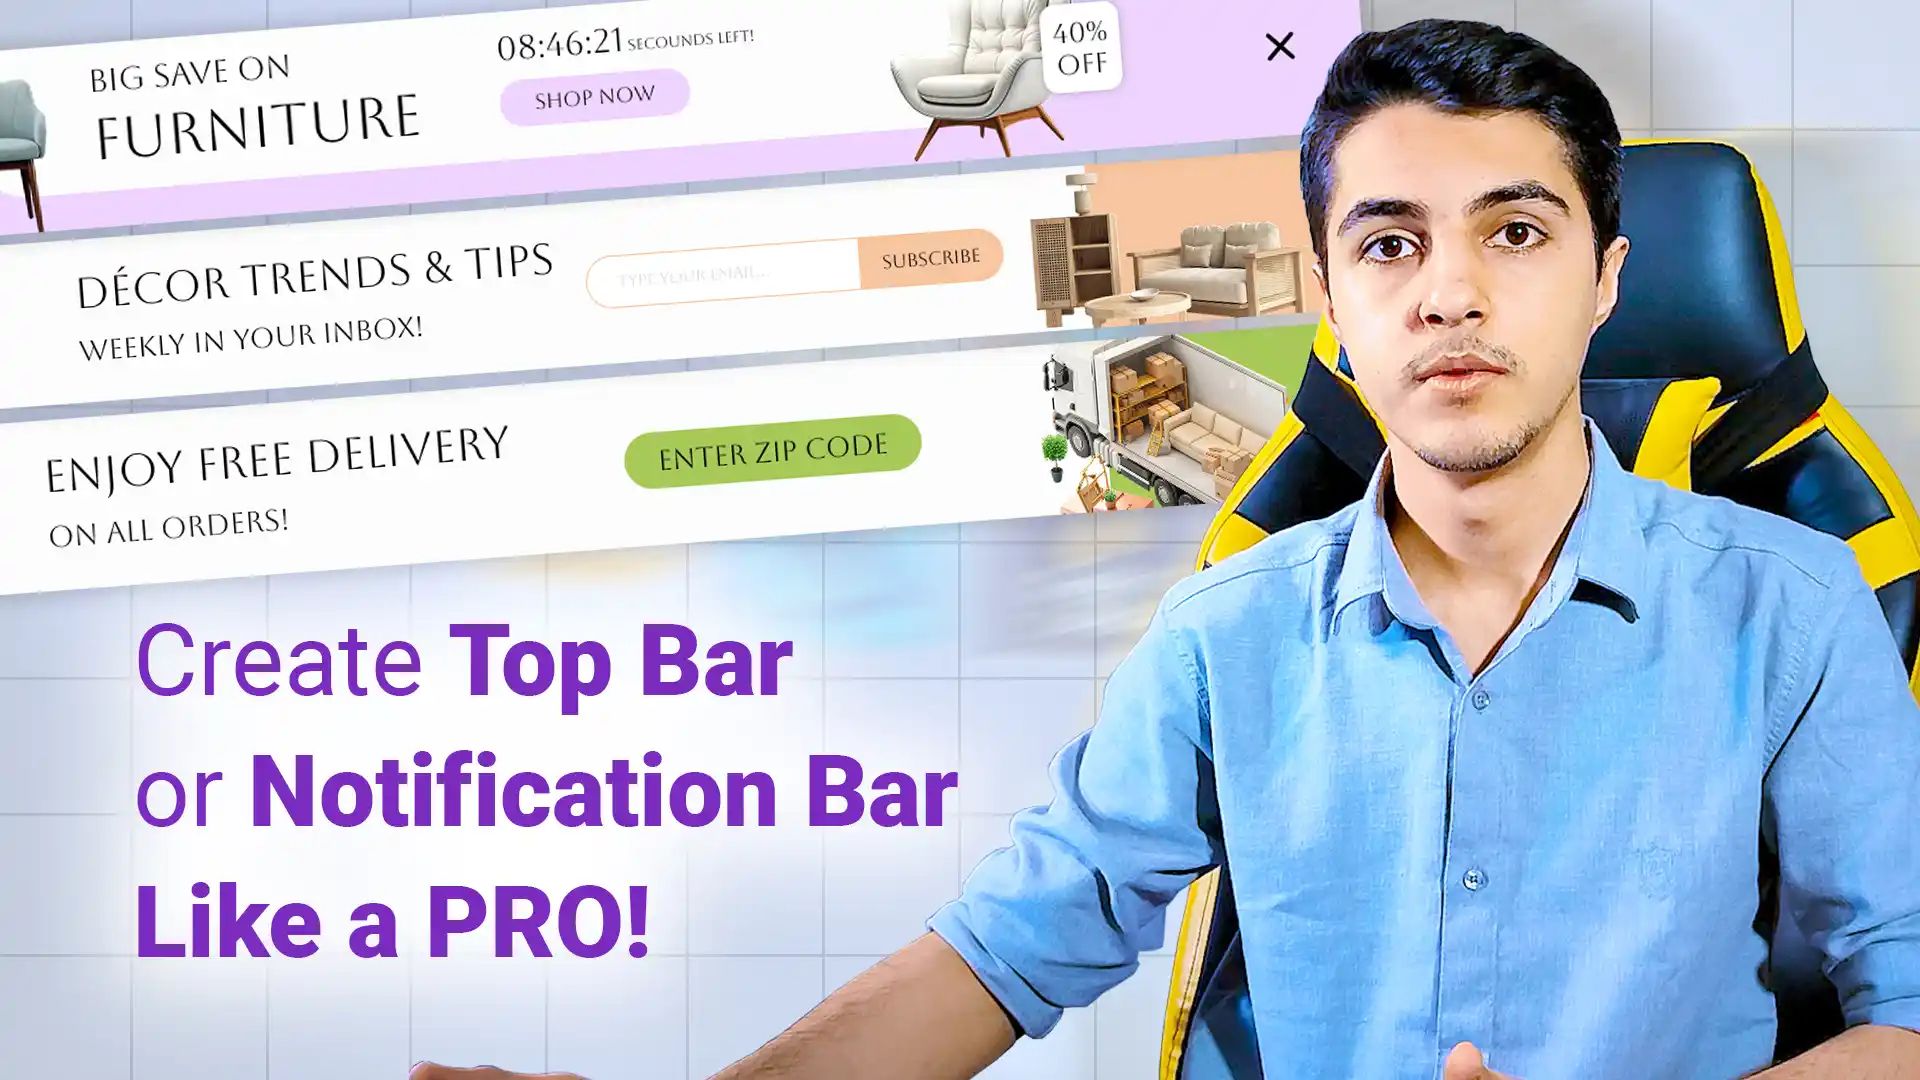
If you want to add a WordPress top bar or notification bar to your website, no worries! There are tons of plugins and tools out there that make it super easy.
But I’ve got a better alternative for you, one that comes with some awesome advantages!
First off, it gives you analytics! You can track how many people saw the top bar, how many closed it, how many clicked on it, and more.
Plus, you can design your top bar using Elementor! You can add timers, images, text, buttons; pretty much anything you want.
You also have full control over where it appears. You can choose which pages to display it on and which ones to hide it from. Basically, it gives you all the features you need.
Notifal is a pro-level tool designed for showing notifications and announcements to your website visitors. The best part? It lets you create fully customizable Elementor-based templates, so you can design top bars exactly how you want and display them to your users.
Step-By-Step Guide to Creating a WordPress Top Bar or Notification Bar
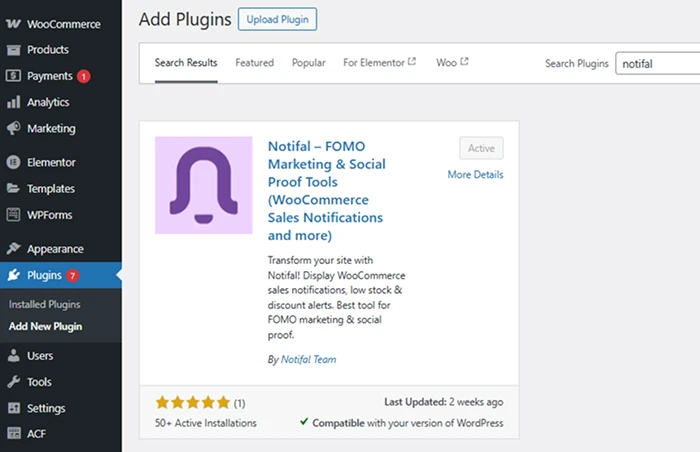
To set up a WordPress top bar with Notifal, if you don’t have the Notifal plugin yet, first head over to your WordPress dashboard. On the left menu, click on Plugins > Add New Plugin.

In the search bar, type Notifal, then install and activate it. Once it’s activated, go to the left menu and click on Notifal > Notifs.
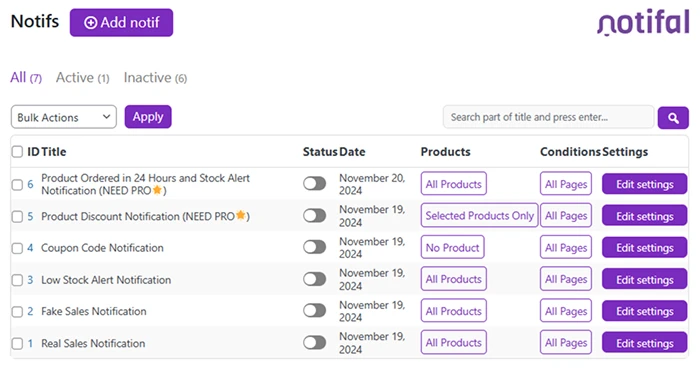
Here, you’ll see a few pre-made notifications that most users go with. But since we need a top bar, we have to create a new notification from scratch. Click on Add Notif.

Now, we’re in the notification settings, and we’ll go through each section step by step.
First, in the General tab, you’ll find settings for the notification status, its name, and the target products.
Start by disabling the notification so it doesn’t show up for users yet. Next, choose a name for your notification (This is just for you to identify it in the list, it won’t be visible to visitors). I’ll name this one Top Bar.
If you’re just displaying a message and it’s not related to a product, set Target Product to No Product. Otherwise, select the product you want to associate with the notification.
Now, save the settings. Once the page refreshes, we’ll move on to the Visual section. In the Visual section, the first thing you’ll see is the Template Settings. The first few templates are Notifal’s built-in ones, but if you’re using Elementor on your website, you’ll also see a section called Elementor Templates.
Since we’re going to create our own template with Elementor, click on Add New Template.
Now, in this page, you can design your template using Elementor. Once you’re done, just hit Publish.
Just a Couple of Things to Note…
First, make sure to use the Notifal Close Icon widget. This lets users close the notification if they’re not interested, so it doesn’t become annoying for them. Plus, it allows you to track the close rate in the dashboard.
Second, don’t forget to set the width of your template. For a top bar, we usually go with Full Width so it stretches across the entire screen from left to right.
And if you don’t feel like designing it yourself and think the template I just made works for you, Click Here to download the template, then go to your WordPress dashboard, click on Import Template, and upload the downloaded file.
Once you’ve designed your template, click Publish to save it, then go back to your Notifal settings. Refresh the page so your template shows up here, then select it.
Keep in mind that the preview inside Notifal might look a little different from what you designed, but don’t worry, on your live site, visitors will see it exactly as you created it.
Adjust the rest of the Visual settings based on your preferences, but make sure to set the Notif Position to Top – Center (Notif Settings > Visuals > Notif Positions).
Next, go to the Source tab and turn both options off. Then, in the Display Conditions section, specify which pages should show this notification and which ones should not.
Once all the settings are done, go back to the General tab, turn on Notif Status, and save the changes.
Now, make sure to check your website and test the notification to see if everything works as expected.
Also, keep an eye on the Dashboard daily to track how many times the notification was displayed, how many times it was closed, and how many clicks it got.
Conclusion
Adding a top bar to your site is easy, but if you want something more powerful, Notifal is the way to go! It gives you analytics, full customization, and seamless Elementor integration.
In this guide, you learned how to set up, design, and fine-tune your Notifal top bar step by step. Now, it’s time to test it and see how it performs on your site.
From here on, use the analytics to see what gets the most clicks and what needs tweaking. So go ahead, set it up and turn your top bar into a powerful engagement tool!

